
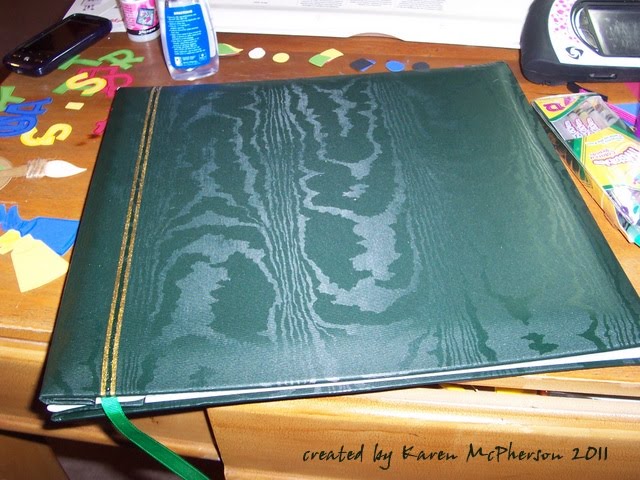
What do you do with all the pieces of art that your child produces? I realistically know that I cannot keep everything yet I find it hard to part with Fisher's masterpieces. I have a couple of solutions. I keep pictures of almost everything and display them on a digital frame. I also keep a box of some of my favorites. For these, I have finally decided to create an album for his artwork. I started with a simple 12x12 album. (Excuse the messy desk. It was a last minute thought to snap a photo of the album before I worked with it.)
 I started by gluing a ribbon over the gold stripe. I used green ribbon with yellow dots that I found in the $1 bin at Target and Zip Dry glue to adhere it to the album. The side border is cut using Plantin Schoolbook and welding (with the help of my Gypsy) two of the scalloped borders together. Next I used glue dots to place the ribbons and the colored circles on each scallop. I topped the circles with a dab of clear Stickles for a little 'bling'.
 The letters are from a new cartridge I got for Chrsitmas. It is the Cricut Lite Zoo Day. I really like the font on this. I cut the letters at 2". Using my Gypsy, I was able to align the letters of similar colors together and lay the paper out exactly where it needed to be, thus making cutting them out easy. I edged each letter with a matching colored pencil to give the letters a little more depth.
 The art supplies were cut from Locker Talk. I used the Crop-a-Dile to place the eyelet on the scissors. I also used Glossy Accents from Inkessentials to make the handles of the scissors shiny.
 Finally, what art album would be complete without crayons. I really like the way these turned out. Again, I added some stickles and outlines with colored pencil.
 Fisher is really excited about his album. Today I was able to complete the cover and make three layouts. (The snowfall that has covered the South has allowed me a few days home in order to work on this.)
Thanks for visiting and please leave a comment. I love to hear from others!

 I used the Christmas cart for the angel, cross, and tree. I used the Its Cold Outside cart for the snowflakes and Very Merry Tags for the JOY. I cut each out using vinyl, adhered it to the glass, and applied etching cream. I am always worried as a clean the cream off that it hasn't worked because I can't see the image. It is not until I remove the vinyl that I can tell the difference. Hope you enjoy and have a Happy New Year!
 I found clear plastic bags used for storing homemade breads at the grocery store and they have been perfect for packaging these and other goodies I have made. I found the ribbon on sale at AC Moore which I used on the bag and on the popcorn wrapper tag.


